
Last updated October 16, 2026
 Wrought iron
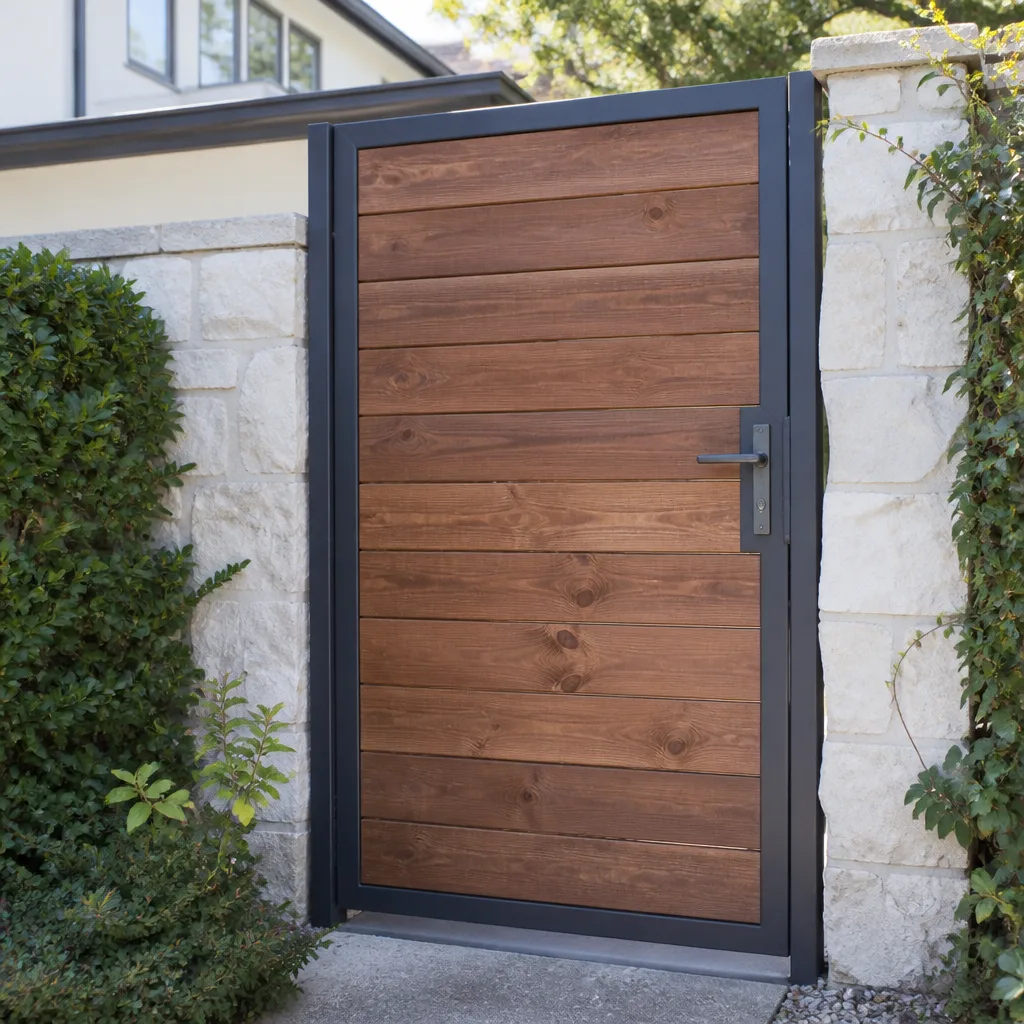 Wood & steel frame
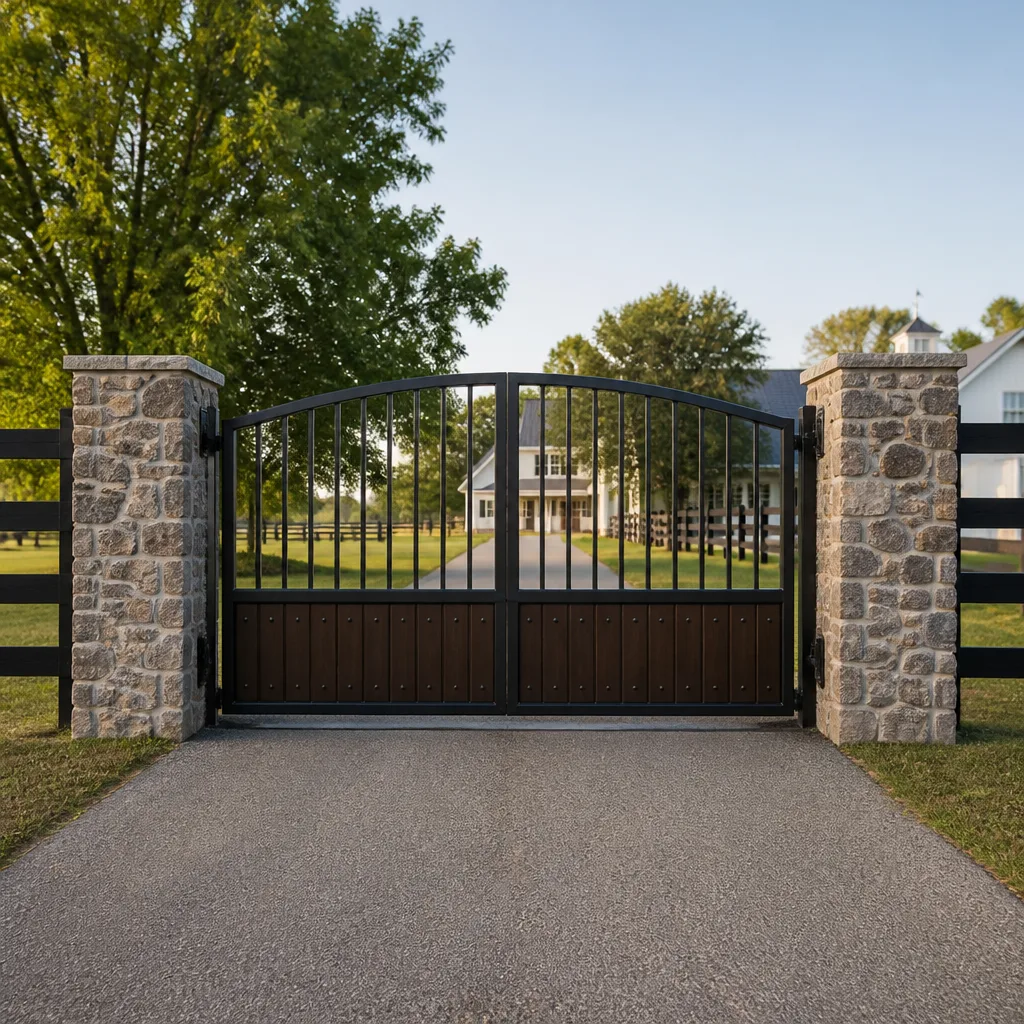 Farm & ranch
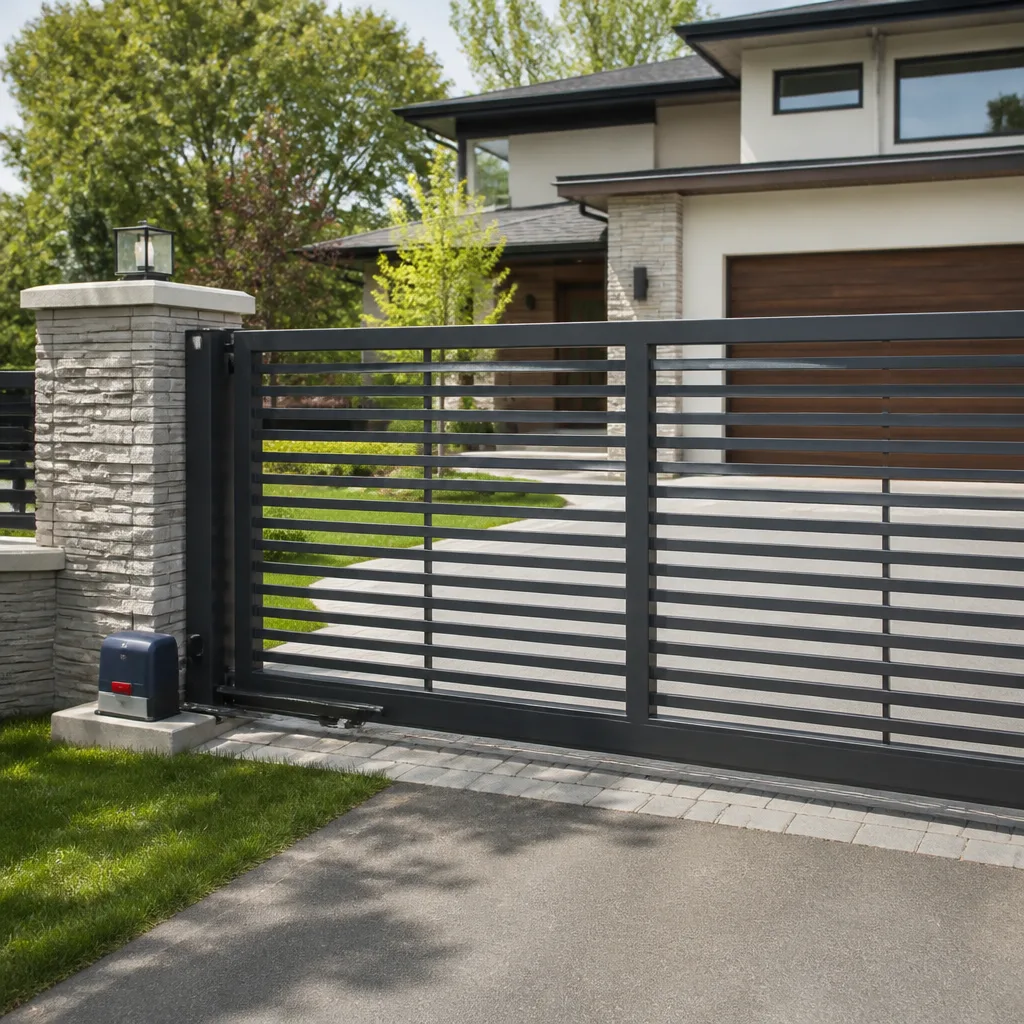 Sliding driveway gates
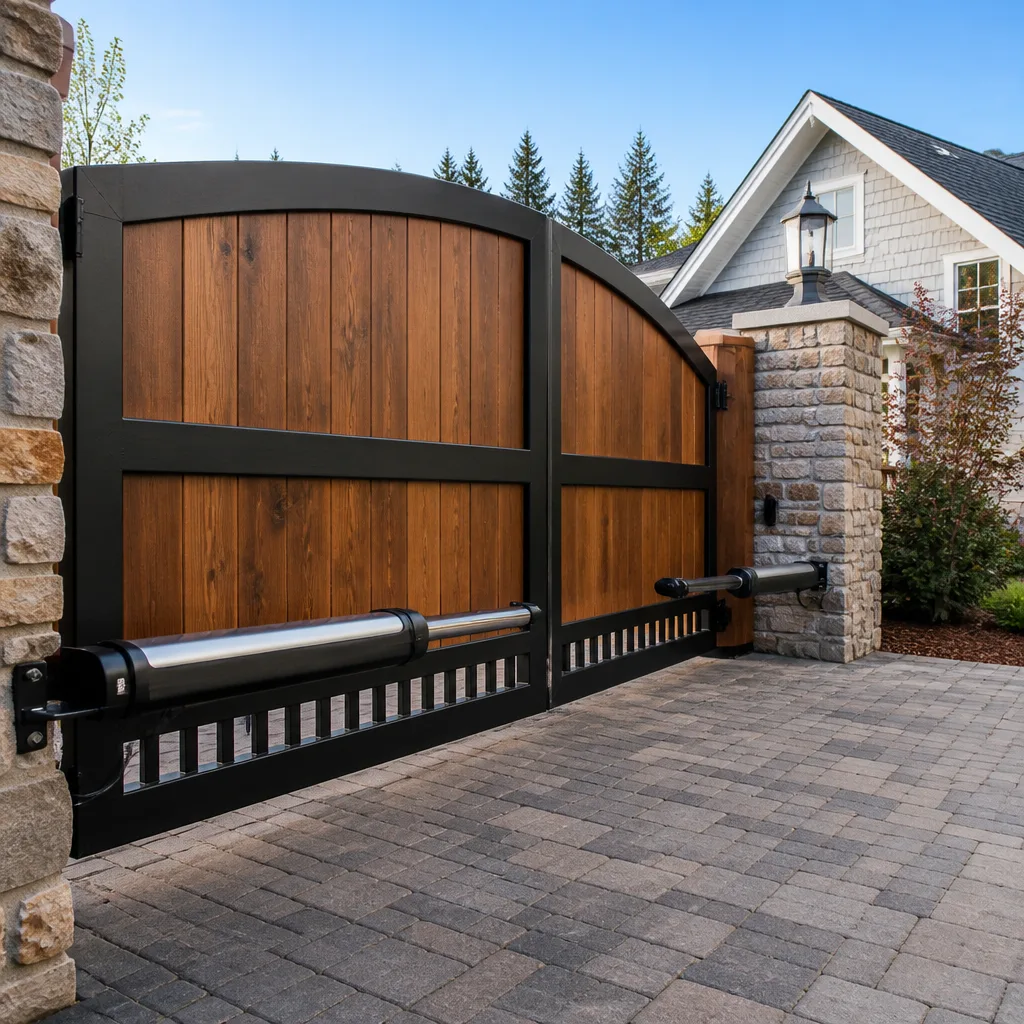 LiftMaster operators
Free on-site gate assessment - hinges, posts, and your LiftMaster or Nice gate operator checked before anything is quoted
The assessment is free and the quote is the invoice.
Get your free estimateGate Repair Maintenance Checklist for Ventura Homeowners
If your gate maintenance schedule says “lubricate hinges annually,” you’re following advice written for Denver. In a coastal ZIP code like 93001, that interval should be every five to six months, or you’re watching corrosion do a year’s worth of work between visits. This guide, alongside our Gate Repair Warning Signs: A Ventura Homeowner’s Reference Guide, recalibrates every standard gate maintenance task for Ventura’s marine layer, salt air, and June Gloom humidity. By the end, you’ll know exactly what to check each month, which lubricants actually work near the coast, and how to catch a failing motor before it strands your car in the driveway.
Quick Answer
A Ventura gate maintenance checklist differs from a generic one in three ways: lubrication intervals are twice as frequent due to salt air, photo-eye sensors need monthly cleaning during the June Gloom months (May through July), and all exposed welds on ornamental iron gates should be photographed and inspected every 90 days. The core tasks are: lubricate hinges and rollers with a marine-grade lubricant every five to six months, test the auto-reverse safety function monthly, clean photo-eyes monthly, inspect welds quarterly, and have the gate motor’s force settings checked by a professional once a year.
Styles & brands we work with
Table of Contents
- The Monthly Ventura Gate Checklist
- The Seasonal Maintenance Calendar for Ventura’s Climate
- Lubrication on the Coast: What to Use and What to Skip
- How to Test and Reset LiftMaster and Viking Limit Switches
- Weld Fatigue on Ornamental Iron: What to Photograph and Why
- The Warranty-Voiding Task Most Homeowners Skip: Force Testing
- Common Mistakes to Avoid
- When to Call a Professional
The Monthly Ventura Gate Checklist
Most maintenance guides tell you to check your gate “regularly,” which is vague enough to be useless. Here’s the exact list we give Ventura homeowners, sized for a ten-minute walk-around. Runs once a month and takes less time than watering the front beds.
- Photo-eye lenses: Wipe both lenses with a dry microfiber cloth. In Ventura, the marine layer deposits a fine film of salt and moisture that clouds the lens within weeks, and a cloudy lens is the number one cause of a gate that reverses for no reason or refuses to close.
- Track and wheels (slide gates): Clear leaves, eucalyptus bark, and the fine grit that blows off the foothills. Slide gates in Ventura’s East End have a harder time than most because of the oak and eucalyptus debris that collects in the track channel.
- Hinge squeak test: Open the gate by hand (after disengaging the motor) and listen. A squeak now means a seized hinge in six months. Catch it early and it’s a two-minute lube job. Let it go and you’re paying for a hinge replacement.
- Auto-reverse test: Use a roll of paper towels as a test object. Start the gate closing and place the roll in the gate’s path. A properly functioning gate should reverse direction on contact and reopen. If the gate crushes the roll or keeps pressing against it, the force setting is too high and needs professional adjustment.
- Grade check: Walk the gate’s path and look for ground heaving. Clay soil in Ventura expands and contracts with winter rains and summer drought, which can shift the gate’s arc enough to make it drag or bind.
Each of these tasks takes five to ten minutes, and each one catches a problem before it becomes a service call. If you’d rather have a professional run this list for you, our Gate Repair in Ventura page covers what a full-service inspection includes.
The Seasonal Maintenance Calendar for Ventura’s Climate
Ventura doesn’t have four seasons in the traditional sense. It has three distinct climate phases that each stress gate components differently. Here’s the month-by-month rotation we recommend, calibrated to our local weather patterns rather than a national average.
May through July: June Gloom and Humidity Stress
Contrary to what you’d expect, the most damaging season for gate electronics in Ventura is not winter rain but the late-spring marine layer. May through July bring persistent morning fog and humidity spikes that linger into the afternoon. The air is wet enough to condense inside gate motor housings but not rainy enough to prompt the average homeowner to check anything.
During these months, photo-eye sensors are the most vulnerable component on your gate. The humidity creates a micro-film of condensation on the lens that refocuses the infrared beam, causing the gate to think something is blocking its path. The result is a gate that starts to close and then reverses, or one that refuses to close at all. Clean both lenses weekly during this period, not monthly. We also see increased capacitor failures in older LiftMaster motors during humidity spikes, because lingering moisture accelerates the degradation of aging dielectric materials.
August through October: Marine Layer Burn-Off and Dry Heat
Once the June Gloom burns off, Ventura shifts to dry, sunny afternoons and cooler evenings. This temperature swing causes metal to expand during the day and contract at night, which works bolts loose over time. October is the single most common month we get called out for sagging ornamental gate panels, because a full summer of thermal cycling has backed out the hardware just enough to let the gate settle.
During this period, spend ten minutes walking the gate with a wrench and checking every visible bolt for tightness. Pay special attention to the hinge plates where the gate attaches to the post or pillar, and the bolts that mount the gate operator arm to the gate itself.
November through April: Rainy Season and Runoff
Ventura averages around fifteen inches of rain per year, most of it falling between November and March. The concern here is not the rain itself but the runoff. Many Ventura homes sit on sloped lots, and gate posts at the bottom of a grade collect water around their base. Water pooling around a gate post softens the soil and gradually causes the post to lean, which throws off the gate’s geometry and strains the motor. See Gate Repair Permits, Codes & Inspections in CA: What You Need to Know for regulatory requirements on post stability.
Each winter, check that water is draining away from gate posts and not pooling at the base. If you see puddling, consider adding gravel or a drainage channel. Also, inspect the bottom rail of the gate for rust beginning at the welds, which is where water sits the longest.
Every Six Months, Regardless of Season
Two tasks don’t belong on a monthly list but shouldn’t wait a full year. Every five to six months, lubricate all moving parts with a marine-grade lubricant (details below), and run a full obstruction-sensor force test (details at the end of this guide). These two tasks prevent more Ventura gate failures than any other preventive measure.
Lubrication on the Coast: What to Use and What to Skip
Lubricating a gate in Ventura is not the same as lubricating one in Phoenix or Bakersfield. Salt air is corrosive and hygroscopic, which means it attracts moisture. The wrong lubricant can actually speed up corrosion by holding salt and water against the metal you’re trying to protect. So the product you choose matters twice as much here as it does inland.
Use These Products on Ventura Gates
- White lithium grease (spray or tube): The standard choice for hinge pins, gate track rollers, and the drive chain on slide-gate motors. It’s moisture-resistant and won’t wash off in rain or evening fog. Reapply every five to six months.
- Dry PTFE spray (Teflon-based): Best for the plastic gears inside FAAC and BFT gate operators. It lubricates without attracting grit, which is important because fine coastal dust mixes with humid air to form a paste that grinds plastic gears.
- Marine-grade corrosion spray (CRC 6-56 or Boeshield T-9): Specifically designed for salt-air environments. Use this on exposed steel parts, gate hinges, and the underside of the gate frame once every six months to create a moisture barrier. Boeshield was originally developed by Boeing for aircraft, and it outperforms standard penetrating oils in coastal conditions.
Avoid These Products Near the Coast
- WD-40 on exposed hinges: This is the most common mistake we see. WD-40 is a water displacement formula, not a true lubricant. It penetrates, frees up stuck parts, and then evaporates, leaving the metal completely unprotected. In a salt-air environment, that means your hinge is now stripped of its old lubricant and has nothing between it and the marine layer. Use it to free a seized part if necessary, but always follow with a proper grease.
- Graphite powder: Graphite works well in dry climates but reacts badly with high humidity. It turns into a clumpy, abrasive paste that accelerates wear on moving parts.
- General-purpose household oil (3-in-1, sewing machine oil): Too thin for gate components. It drips off within weeks and leaves no protective film. On a coastal gate, that’s a waste of time.
If you’re not sure whether your gate’s motor uses grease or dry PTFE, the safest default on a Viking or Linear residential unit is white lithium grease on the metal chain and dry PTFE on any accessible plastic gears. When in doubt, call us and we’ll confirm over the phone: (831) 226-7089.
How to Test and Reset LiftMaster and Viking Limit Switches
A gate that stops short or over-travels past its normal closed position is usually not a motor failure. More often, the limit switches, which tell the motor exactly where “open” and “closed” are, have drifted out of calibration. In Ventura, thermal expansion from warm afternoons and cool nights can gradually shift the limit mechanism, especially on older LiftMaster and Viking operators.
Before you assume the motor is dying, test the limit switches yourself. This is a five-minute procedure that requires a ladder and a screwdriver. Note: this is a diagnostic procedure, not a repair. For a gate that is stuck or unresponsive, call a professional.
Testing Limit Switches on a LiftMaster Operator
- Locate the limit cams: On most LiftMaster swing-gate operators, the limit cams are inside the main housing, accessible by removing the top cover. The cams look like two small wheels with adjustable set screws.
- Mark the current positions: Use a sharpie to draw a line on each cam and the housing next to it. This way you can revert to the original position if needed.
- Run the gate and observe: Open the gate and watch where it stops. Compare the stopping position to what you expect. If the gate stops too early, the open-limit cam needs adjusting in one direction. If it stops too late, or the motor strains against the stop, adjust the other way.
- Adjust in small increments: Loosen the set screw on the relevant cam, rotate it about one-eighth of a turn, retighten, and run the gate again. Repeat until the gate stops where it should.
- Test the close cycle: Repeat the same process for the close-limit cam. A properly adjusted gate should close fully without slamming into the latch or post.
Resetting Limit Switches on a Viking Operator
Viking residential operators use a similar limit cam system, but the cams are often mounted on the internal drive shaft rather than on the exterior. You’ll still access them through the top of the housing. The process is the same: mark, adjust in small increments, and test. On Viking units we service in Ventura, we find that the close-limit cam drifts more often than the open-limit cam, because the gate tends to settle against the latch and push the cam out of alignment over time.
If you adjust the limits and the gate still misbehaves, the issue is likely in the control board rather than the limit switches. That’s a job for a professional with a multimeter. Our Gate Motor Repair in Ventura page explains what a full motor diagnosis includes.
Weld Fatigue on Ornamental Iron: What to Photograph and Why
Wrought iron and ornamental steel gates are common throughout Ventura’s older neighborhoods, from Midtown to the hillside homes above downtown. These gates look beautiful, but their welds are the weak point, and in a coastal climate, they fail faster than the average homeowner expects.
The problem is called weld fatigue, and it happens when the heating and cooling cycles of daytime sun and evening fog cause the steel to expand and contract at the weld joint. Over time, the metal develops hairline cracks at the edges of the weld. Once a crack starts, salt air gets into it and accelerates the failure. A gate that looked fine in March can have a visible crack by September.
What to Inspect Every 90 Days
- Bottom hinge weld: The highest-stress point on any swing gate. This weld carries the full weight of the gate while also flexing with every open-and-close cycle. Look for hairline cracks running along the edge of the weld bead.
- Top hinge weld and plate: Similar stress point, but also susceptible to water intrusion if the weld has any pinholes.
- Where the pickets meet the top rail: On ornamental gates, these are usually spot welds. They fail quickly once rust gets into the joint, and a failed picket weld shows up as a “rattling” picket when the gate moves.
- Operator arm mounting bracket: This weld experiences dynamic loading every time the motor pushes or pulls the gate. Inspect it more often than the rest of the gate, especially on Viking and LiftMaster arm-style operators.
Photograph Anything Suspect
If you see anything that looks like a hairline crack or rust staining at a weld joint, photograph it. Use your phone camera with the flash on, get as close as the lens will focus, and take two or three shots from slightly different angles. Cracks show up better in photos with raking light, so photograph early in the morning or late in the afternoon when the sun is at a low angle.
Why photograph it? Because weld cracks progress over weeks, not days, and you need a baseline reference to tell whether the crack is growing. A photo from this month compared to a photo from three months ago will tell you immediately whether the gate is failing or the crack is a cosmetic surface mark. And when you do call for help, those photos save the diagnostic time. Send them to us at Warden Gate Repair Ventura home and we’ll tell you over the phone whether it looks urgent.
The Warranty-Voiding Task Most Homeowners Skip: Force Testing
Every gate operator installed in the United States since 2000 is required by UL 325 to include an obstruction sensor, sometimes called an auto-reverse or entrapment protection system. This is the mechanism that stops and reverses the gate when it encounters something in its path, a child, a pet, a car bumper, a trash can. Most Ventura homeowners know the sensor exists. Very few know they’re supposed to test it monthly, and that failing to maintain it can void the operator warranty.
LiftMaster, Viking, FAAC, BFT, and Linear all state in their printed manuals that force-sensitivity settings must be tested periodically, and any damage caused by improper force settings is excluded from warranty coverage. If your gate hits a bike and doesn’t reverse, and the control board later burns out while fighting a jammed gate, the manufacturer can deny the claim because the operator was being run outside its safety parameters. This is the maintenance task that costs Ventura homeowners real money, because they don’t know it exists until a claim is denied.
How to Run the Obstruction Test
- Place a test object in the gate’s path: A full roll of paper towels is the right size. Don’t use anything you don’t want dented, in case the gate doesn’t reverse.
- Close the gate: Press the close button (or remote). Stand clear.
- Watch what happens when the gate hits the object: A properly adjusted gate should reverse within two seconds or less of contact. It should not keep pressing into the object. It should not grind against it.
- Check the reaction: If the gate reverses immediately, the force setting is within range. If it hesitates, continues pressing, or does not reverse, call a professional. Do not continue using the gate.
- Repeat on the open cycle: The same test applies in the open direction, though this is less critical because gates rarely trap anything on the open stroke.
Force testing takes thirty seconds and requires no tools. Put it on your phone’s calendar as a monthly reminder. If the gate fails the test, that’s the moment to call us at (831) 226-7089. A force-setting adjustment is a quick service call, and it’s covered under our standard repair, with the written price given before any work begins.
Common Mistakes to Avoid
- Using WD-40 as a gate lubricant: In Ventura’s salt air, WD-40 strips existing protection and leaves bare metal exposed within days. A hinge lubed with WD-40 in April will be squeaking by July and rusting by October.
- Skipping photo-eye cleaning during June Gloom: May through July is the worst period for photo-eye failures in Ventura, yet most homeowners only check the sensors when the gate stops working. Weekly lens wiping during these three months prevents ninety percent of “my gate won’t close” calls we get each summer.
- Ignoring a squeaking hinge: A hinge that squeaks is sending a signal: the lubrication is gone and metal is contacting metal. Left unaddressed, a squeaking hinge becomes a seized hinge, and a seized hinge bends the gate frame when the motor forces it to move.
- Adjusting force settings too high to “fix” a dragging gate: If your gate drags on the ground or binds in its track, and you compensate by cranking up the motor’s force setting, you’re trading a mechanical problem for an electrical one. The motor may eventually move the gate, but it’s burning itself out doing it, and your obstruction safety is now compromised.
- Painting over rust without treating the metal: Slapping paint over a rust patch on a gate frame does nothing but hide the problem. The rust continues spreading underneath. Proper treatment means wire-brushing to bare metal, applying a rust converter, then priming and painting with a marine-grade enamel.
- Never testing the auto-reverse: The UL 325 obstruction test takes thirty seconds and is the single most important safety check on your gate. Yet surveys consistently show that fewer than twenty percent of gate owners have ever run the test, even once.
- Letting vegetation grow against the gate: Ivy, bougainvillea, and climbing roses look beautiful but hold moisture against the metal and obstruct the gate’s path. In humid months, vines pressed against steel create a micro-climate that accelerates rust dramatically.
When to Call a Professional
Some tasks belong on a DIY checklist. Others don’t. If your gate fails the obstruction test, makes a grinding noise from the motor housing, sags visibly at the hinge line, has a cracked weld that’s growing, or the motor hums but doesn’t move the gate, that’s a professional repair. These are not maintenance items-they’re failures in progress that need our Gate Repair services.
Also call a professional if your gate motor is a Viking or LiftMaster that’s more than ten years old and has never had its force settings checked. Age is not a guarantee of failure, but force-setting drift over time is common, and the fix is fast when caught early.
Warden Gate Repair Ventura offers free estimates in Ventura, with the price quoted and agreed before any work starts. Call (831) 226-7089 and we’ll send a technician by name and photo before the visit, so you know exactly who’s coming to your gate.
See the difference
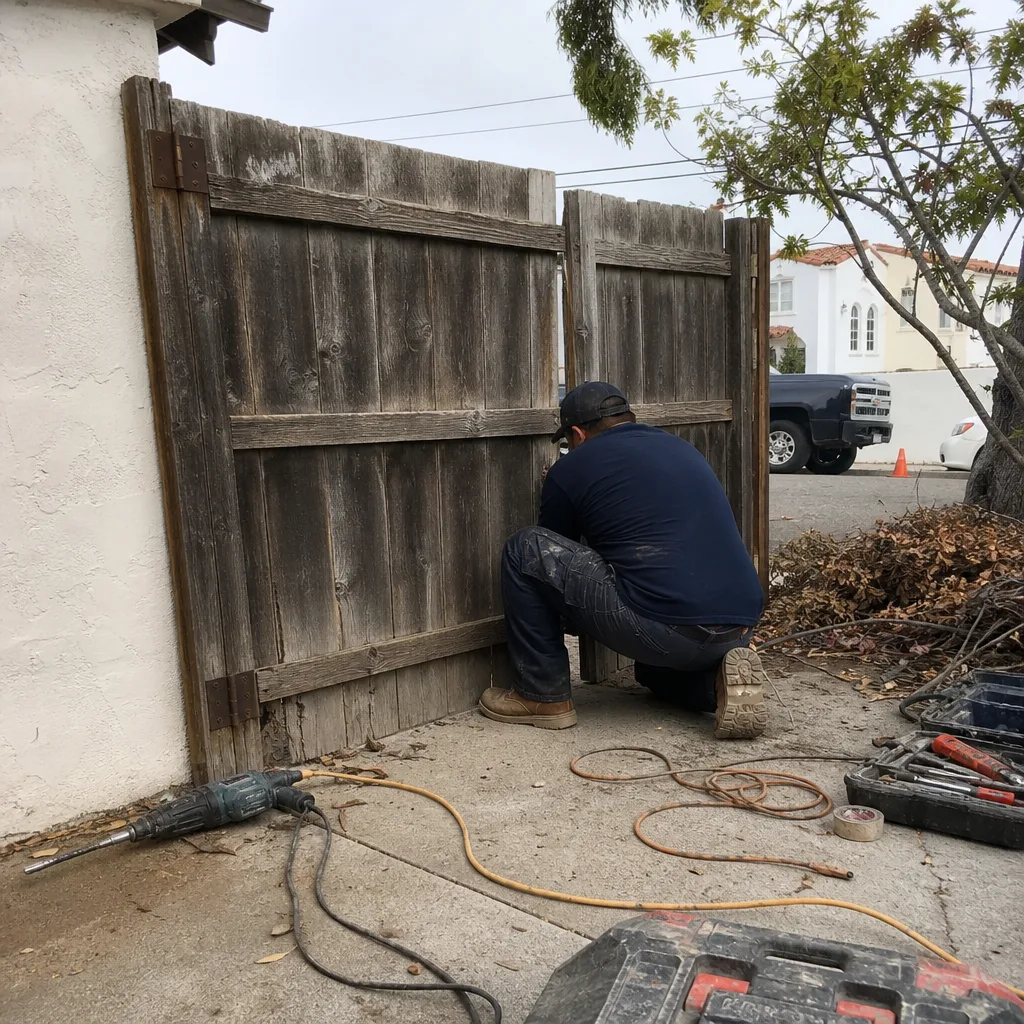 Before
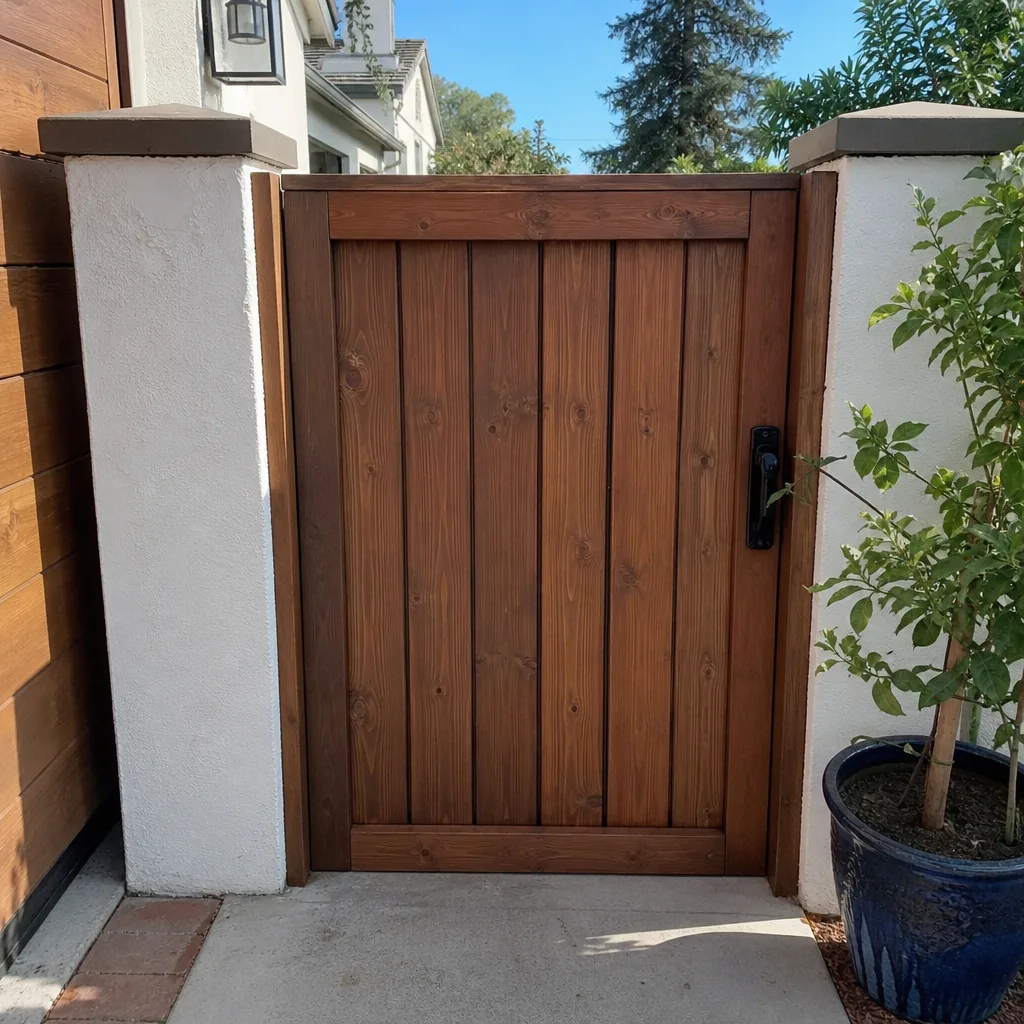 After
After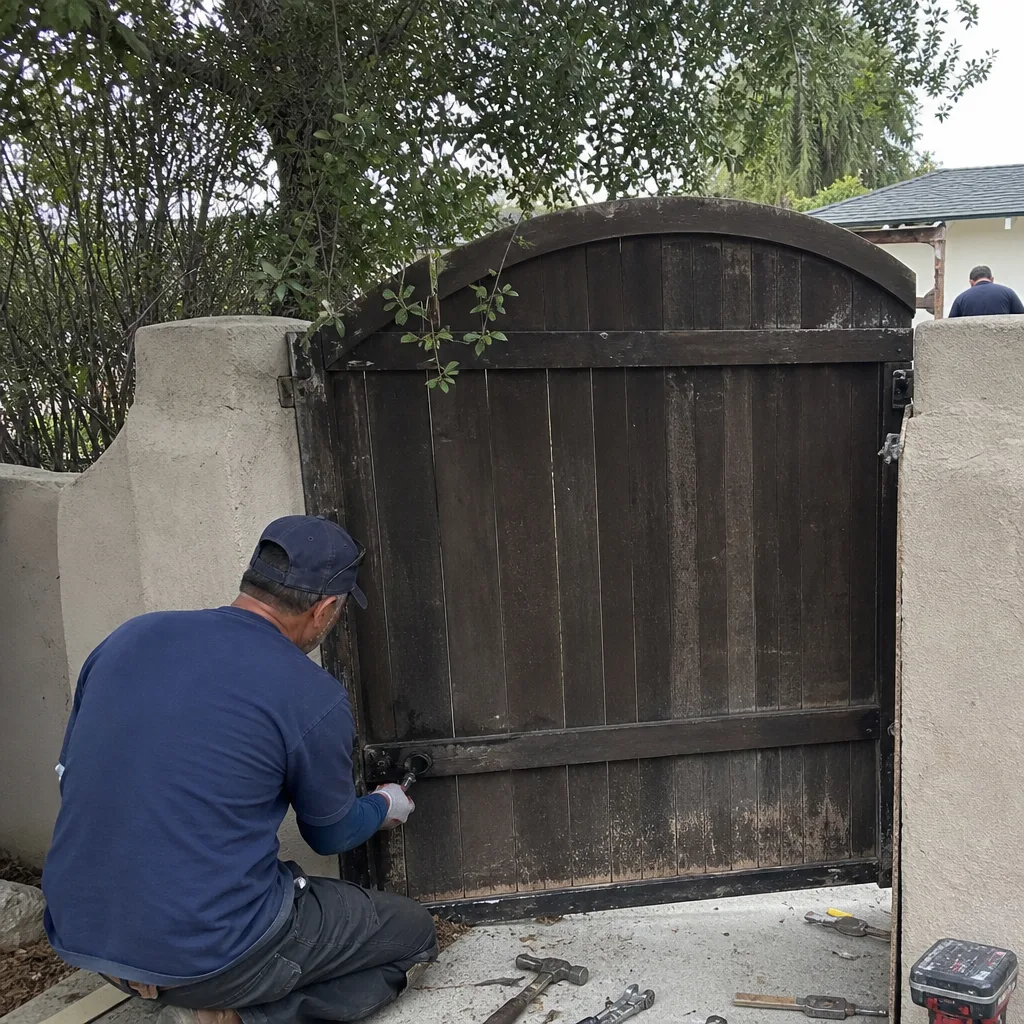 Before
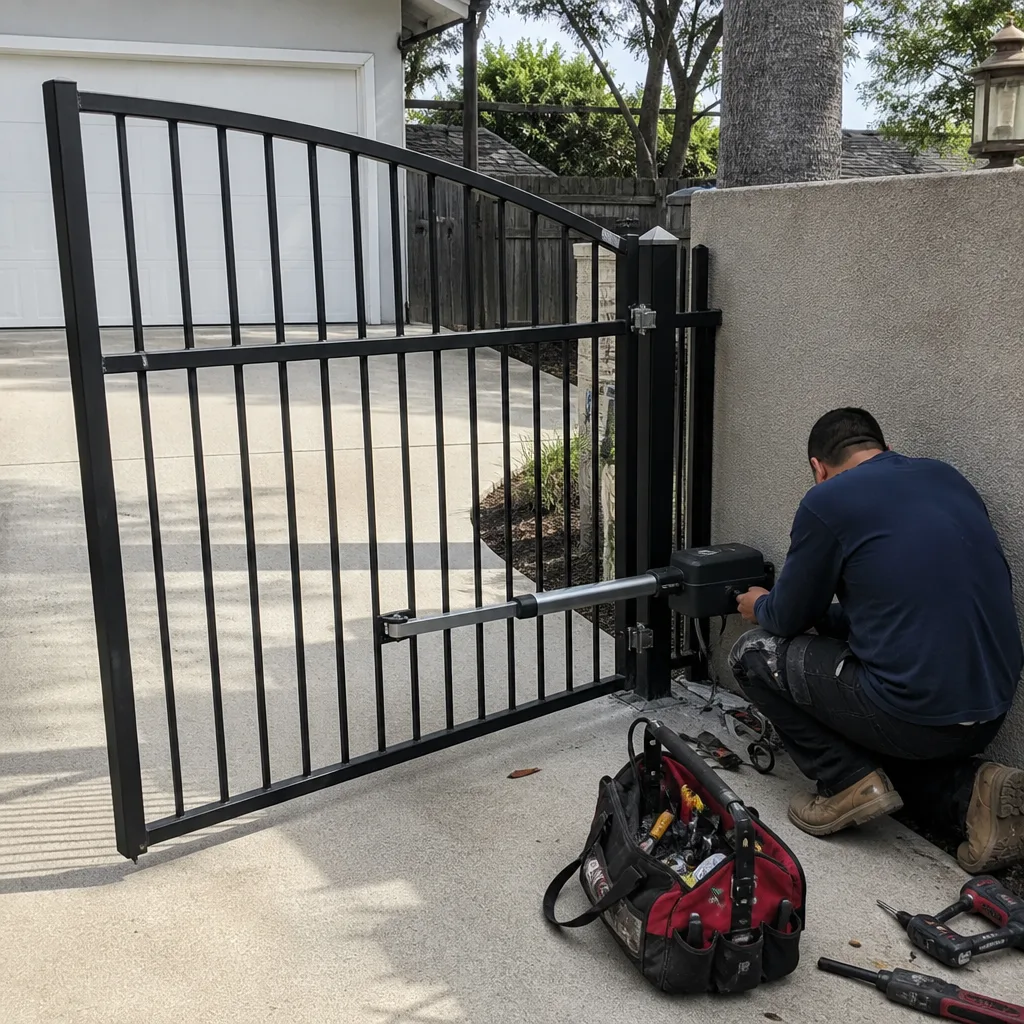 After
After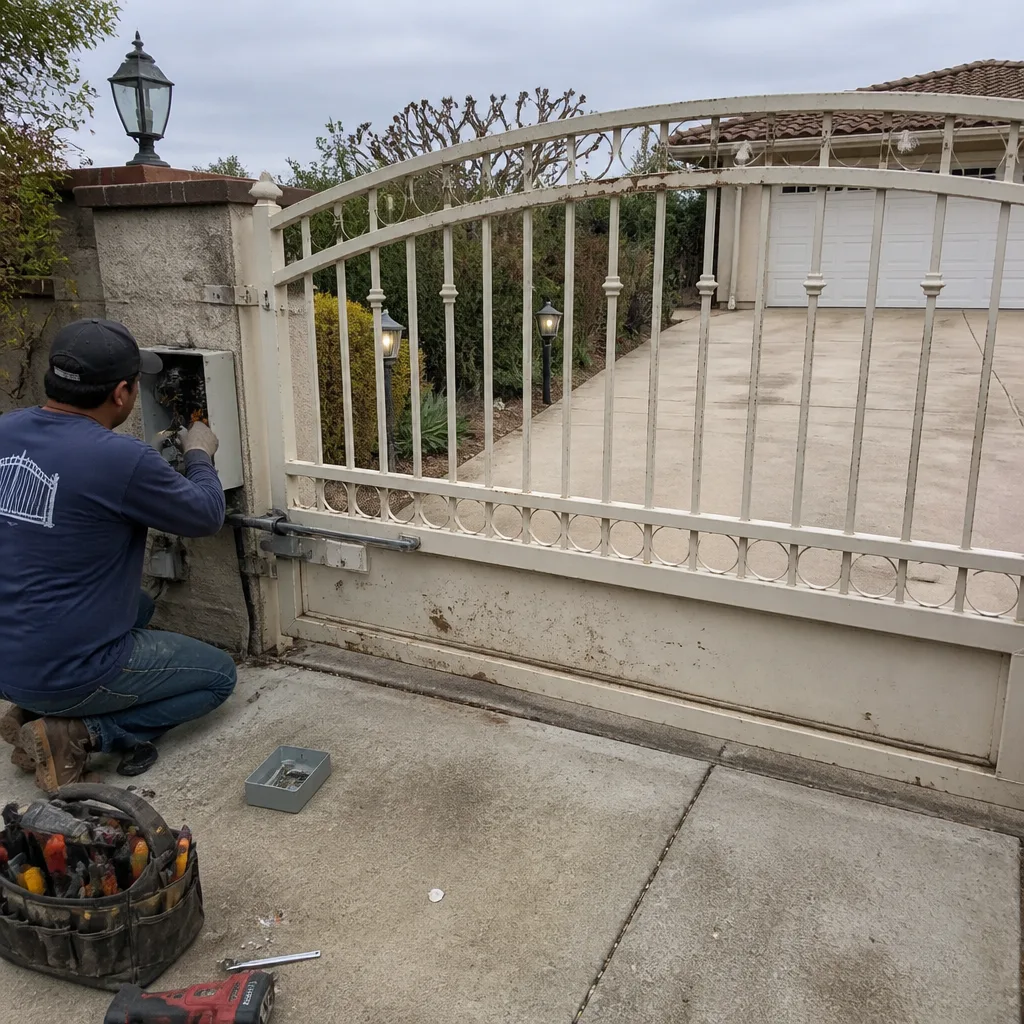 Before
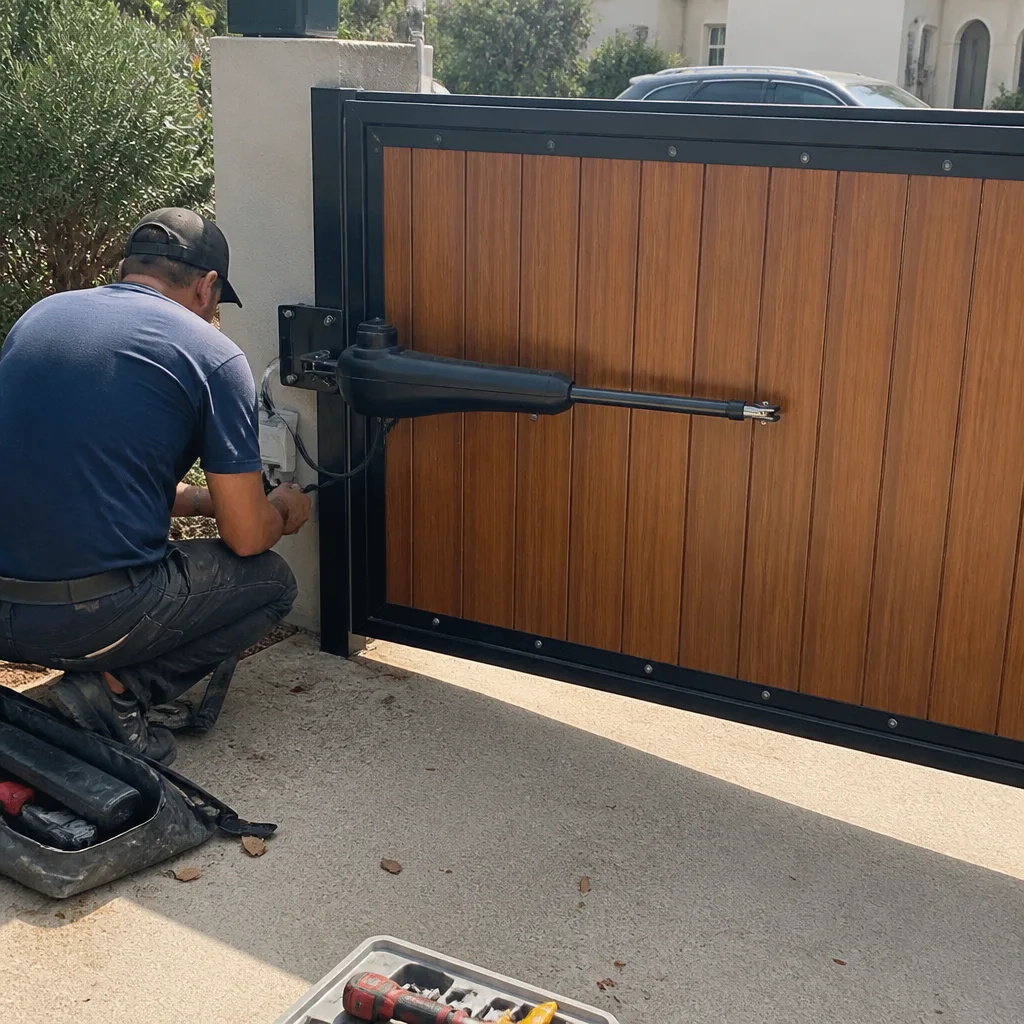 After
AfterFrequently Asked Questions
Every five to six months. Ventura’s salt air and marine layer compress the standard annual lubrication interval to roughly half. Use white lithium grease on metal-on-metal contact points and dry PTFE spray on plastic gears.
In Ventura, this is almost always a photo-eye issue. June Gloom humidity condenses on the sensor lenses and redirects the infrared beam, making the gate think something is in its path. Clean both lenses weekly from May through July and the problem typically stops.
No. WD-40 is a water displacement spray, not a lubricant, and it evaporates quickly while stripping existing protection. In a coastal environment, that leaves bare metal exposed to salt air. Use white lithium grease or a marine-grade corrosion spray instead.
Signs include the gate stopping short of the open or closed position, the gate over-traveling and pressing against the latch or post, or the motor continuing to run for a second after the gate stops. These symptoms usually indicate the limit cams have drifted and need recalibration.
A full maintenance service typically includes lubrication of all moving parts, limit switch calibration, force-setting adjustment and obstruction testing, photo-eye cleaning and alignment, weld inspection, and bolt tightening. Check our Electric Gate Repair in Ventura page for details on what a complete tune-up covers.
Most residential gate maintenance visits in Ventura run between $95 and $180 depending on gate size and operator type. Annual service agreements with two visits per year typically cost less per visit than one-off calls. Call (831) 226-7089 for an exact quote, estimates are free.
The Bottom Line
A Ventura gate can’t be maintained on a generic schedule. The marine layer compresses lubrication intervals to five or six months, June Gloom forces weekly photo-eye cleaning for a quarter of the year, and the salt air turns minor weld cracks into structural failures faster than any inland climate. What matters is consistency: ten minutes a month on the checklist, a thirty-second auto-reverse test, and a phone call when something looks wrong. The gate protects your home, and this checklist protects the gate. For more guides & resources, visit our blog.
Written by Cole Rafferty, Owner at Warden Gate Repair Ventura, serving Ventura since 2008.