
Last updated October 16, 2026
 Wrought iron
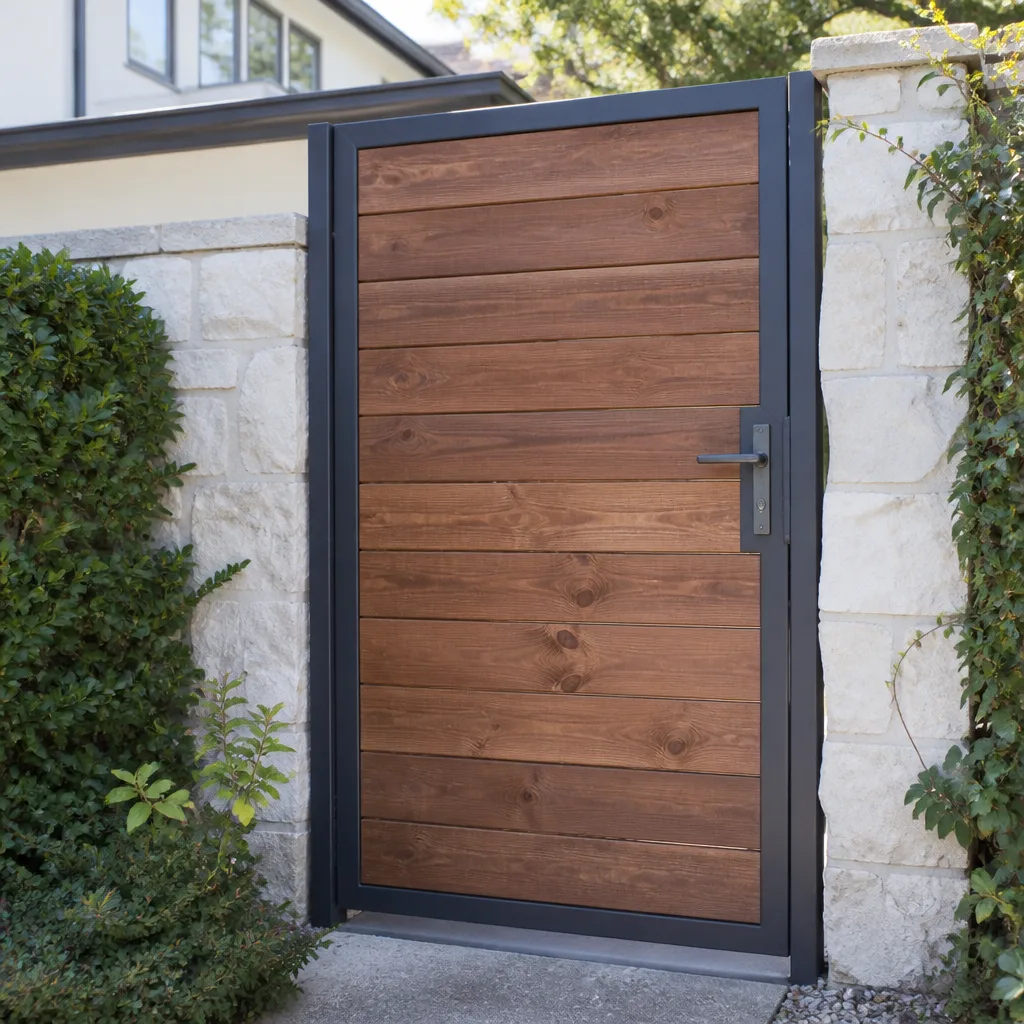 Wood & steel frame
 Farm & ranch
 Sliding driveway gates
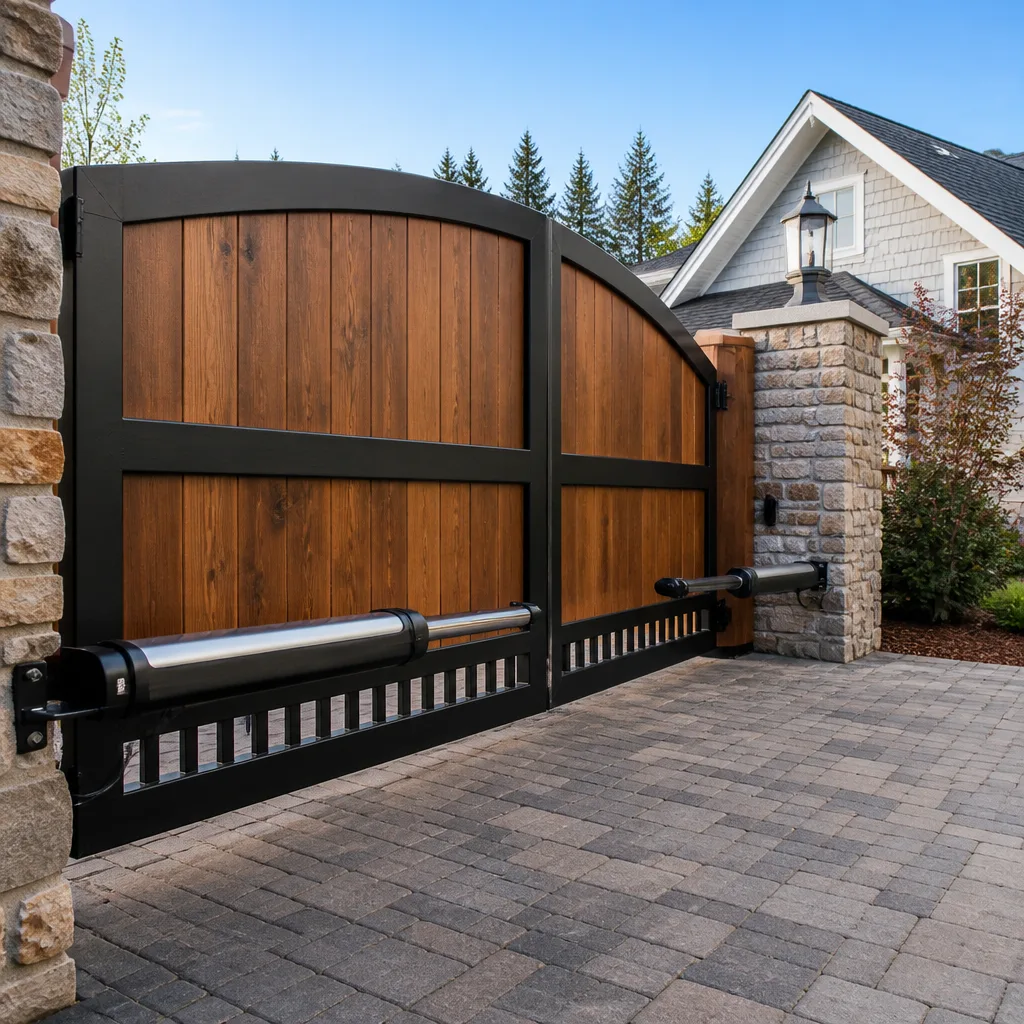 LiftMaster operators
Free on-site gate assessment - hinges, posts, and your LiftMaster or Nice gate operator checked before anything is quoted
The assessment is free and the quote is the invoice.
Get your free estimateDIY vs Professional Gate Repair: The Ventura Homeowner’s Decision Guide
A gate operator that fails its UL 325 entrapment test isn’t just broken, it’s a legal liability sitting in your driveway. Most Ventura homeowners don’t realize that the automatic gate they installed or repaired themselves carries the same legal weight as a commercial installation. This Gate Repair Maintenance Checklist for Ventura Homeowners draws the line between repairs you can safely handle with a Saturday afternoon and a socket set, and the ones where a wrong move creates a 500-pound hazard. You’ll learn which five common fixes actually save money when done yourself, what California law says about self-installed gates, and how to tell the difference between a dirty photo eye and a failing control board before you spend a dollar. If you have an automatic gate in Ventura, this is the one guide that tells you what’s actually safe to touch.
Styles & brands we work with
Quick Answer
DIY gate repair in Ventura is appropriate for hinge lubrication, photo-eye cleaning, remote reprogramming, and minor cosmetic fixes on manual gates. Professional Gate Repair is legally and practically necessary for anything involving automatic gate operators, entrapment sensors, high-tension springs, weld failure, or electrical work, because an improperly calibrated gate can injure someone and create liability that most California homeowner’s policies exclude.
Table of Contents
- The Real Question: Safe to Get Wrong vs. Not Safe to Get Wrong
- UL 325 and California Law: What Ventura Homeowners Don’t Know
- 5 Repairs That Are Genuinely DIY-Safe
- 5 Repairs That Require a Trained Technician
- Cost-Benefit Math: When DIY Gate Repair Actually Saves Money in Ventura
- How to Diagnose Your Gate Problem Before Deciding
- What to Tell a Gate Repair Company If You’ve Already Tried Fixing It Yourself
- Common Mistakes to Avoid
- When to Call a Professional
- Frequently Asked Questions
- The Bottom Line
The Real Question: Safe to Get Wrong vs. Not Safe to Get Wrong
The DIY-versus-pro decision for gate repair isn’t a skill test. It’s a risk classification. Some repairs fail harmlessly: the gate sticks, you redo the job, you’ve lost an afternoon. Other repairs fail catastrophically: the gate closes on a child, a spring unloads into someone’s face, a 700-pound leaf swings into a car. The distinction matters more in Ventura than in most places, because our gates live outdoors year-round in salt air and fog, which accelerates corrosion in exactly the places that matter most, hinges, springs, and electrical connections.
We’ve seen the aftermath of both kinds of failures. A homeowner in midtown Ventura spent three weekends rebuilding a wooden gate hinge assembly, and it worked fine, because the stakes were low. Another homeowner replaced a gate motor capacitor himself, wired it backwards, and the gate reversed direction mid-cycle while his daughter’s bike was in the path. The gate stopped because the safety edge caught it. If that edge hadn’t been working, he’d have had a very different week.
Here’s the framework we use when a Ventura homeowner asks us whether to tackle something themselves:
- What’s the failure mode if I get this wrong? If the gate just won’t move, that’s low stakes. If the gate moves when it shouldn’t, or doesn’t stop when it should, that’s high stakes.
- Does this involve stored energy? Torsion springs, extension springs, and heavy gate leaves all store energy. Releasing that energy accidentally is how people get hurt.
- Does this involve electricity at the operator level? Replacing a remote battery is one thing. Opening a gate operator cabinet and testing capacitors is another.
- Am I modifying a safety system? Photo eyes, safety edges, and the UL 325 entrapment settings are safety systems. Calibrating them wrong isn’t a repair failure, it’s a safety failure.
That last point is the one most DIY guides skip entirely. A gate that opens and closes when you press the button is not necessarily a safe gate. The safety systems are what make it legal and safe for your family and for anyone who walks onto your property, including the mail carrier and the neighbor’s kid retrieving a frisbee.
UL 325 and California Law: What Ventura Homeowners Don’t Know
UL 325 is a safety standard written by Underwriters Laboratories that governs automatic gate operators. It sets requirements for entrapment protection: the gate must stop and reverse if it encounters a person or object while closing. Since 2001, every automatic gate operator sold in the United States has been required to meet UL 325. California adopted these requirements directly into state building code, specifically in Title 24, Part 2, Section 3213, and the California Energy Commission’s Title 24, Part 6 applies to gate lighting efficiency.
What most Ventura homeowners don’t realize is that UL 325 compliance isn’t a one-time event that happens at the factory. It’s a testing and calibration requirement that applies every time a gate operator is installed, serviced, or adjusted. When we service an automatic gate in Ventura, we run an entrapment test as part of every job. That means placing a test object in the gate’s path and verifying that the gate stops and reverses. It’s not optional, and it’s not something a homeowner can do accurately without the right test equipment and training.
Here’s the part that matters for the DIY decision:
- Homeowner’s insurance and self-installed gates: Most California homeowner’s policies exclude or limit coverage for injuries caused by non-compliant automatic gates. If you installed or modified the operator yourself and cannot document UL 325 compliance, the insurance company may deny the liability claim. That means the injured person sues you personally.
- Liability exposure for unpermitted work: The City of Ventura requires permits for automatic gate installation and certain types of gate modification, especially when the gate is on a driveway that crosses a public sidewalk or when the gate’s swing arc extends over a public right-of-way. Unpermitted work compounds liability because it’s evidence of code non-compliance before you even get to the gate’s operation.
- Disclosure requirements when selling a home: California’s statutory disclosure forms ask specifically about automatic gates, and a non-compliant gate is a material defect that must be disclosed. We’ve seen real estate transactions in Ventura stall at the 11th hour because a buyer’s inspector flagged a gate that didn’t stop on obstruction.
The practical takeaway: if the repair you’re considering involves the operator, the sensors, or the wiring, you’re not just risking a broken gate. You’re potentially creating an uninsurable liability. That’s not a judgment about your mechanical skill. It’s just what the legal landscape looks like in California.
5 Repairs That Are Genuinely DIY-Safe
Plenty of gate maintenance in Ventura is genuinely safe for a careful homeowner, and doing it yourself saves real money over time. Here are the five tasks we most often tell homeowners they can absolutely handle, along with what to watch for in our specific climate.
1. Hinge Lubrication
Metal-on-metal gate hinges wear faster in coastal air, and a dry hinge makes the gate hard to move, which makes the operator work harder, which shortens the operator’s life. Lubricating hinges is a simple, low-risk job:
- Support the gate leaf with a block or jack stand so the hinges aren’t bearing weight while you work.
- Clean the hinge pins with a wire brush to remove surface rust and salt deposits.
- Apply a lithium-based grease or a product like WD-40 Specialist White Lithium Grease to the pin and the barrel.
- Work the gate back and forth by hand a few times to distribute the lubricant.
Do this every six months in Ventura, and every three months if you live within a mile of the beach. The salt air east of the 101 corridor is gentler, but it still beats up exposed metal.
2. Photo Eye Cleaning and Alignment
Photo eyes are the small sensors mounted near the bottom of the gate opening. They project an invisible beam across the gate’s path, and if anything breaks the beam while the gate is closing, the gate stops and reverses. In Ventura, photo eyes get coated with salt film, dust, and spider webs, which can make them malfunction. Cleaning them is safe and easy:
- Wipe the lens of each photo eye with a soft, dry cloth. If there’s stubborn film, use a damp cloth with a little dish soap, then dry thoroughly.
- Check that both photo eyes are pointed directly at each other. Most units have a small indicator light that stays solid green or red when aligned.
- If the light is blinking, gently adjust the position of one eye until the light goes solid.
If the photo eyes are clean and aligned and the gate still won’t operate, the problem is likely in the wiring or the control board, and that’s where the DIY line gets crossed.
3. Remote Reprogramming
Replacing a lost remote or adding a new one is one of the most common tasks homeowners can handle, and it applies across most major brands. The exact procedure varies, but the general process for LiftMaster, Mighty Mule, and most Elite openers is:
- Locate the learn button on the operator control board, usually a small round or square button labeled “Learn” or “Lrn.”
- Press and release the learn button. The indicator light on the board will typically begin blinking.
- Within 30 seconds, press the button on the new remote you want to pair. The operator should beep or the light should blink to confirm.
- Test the remote from at least 20 feet away.
If you’re programming a vehicle’s built-in HomeLink system to a gate operator, the process is a little different. Some gate operators require a HomeLink compatibility bridge. If your vehicle’s manual says you need a repeater, that’s a small additional purchase, not a repair.
4. Minor Wood Gate Patching and Sealing
If your gate leaf is made of wood, surface cracks and minor rot spots are DIY-friendly. Ventura’s wet winters and dry summers cause wood to expand and contract, which opens cracks where water gets in and accelerates rot. For a small crack or check in the wood:
- Use a putty knife to remove any loose or rotten wood.
- Fill the void with a two-part epoxy wood filler designed for exterior use.
- Sand the patch flush once it cures.
- Seal with an exterior-grade primer and paint or a marine-grade sealant.
This is only appropriate for cosmetic or superficial damage. If the wood is structurally compromised at the hinge mounting points or where the operator arm attaches, the gate leaf needs professional repair or replacement. A gate that comes off its hinges is a falling object, and a falling gate is a serious hazard.
5. Track and Debris Clearing for Sliding Gates
Sliding gates in Ventura accumulate leaves, dirt, and sometimes sand in the track, especially after Santa Ana wind events. A track full of debris makes the gate work harder and can cause the motor to overheat or the clutch to slip. Almost every sliding gate track can be cleared by hand:
- Disconnect the operator by pulling the manual release handle.
- Use a stiff brush or a shop vacuum to remove loose debris from the track.
- Check the track for dents, bends, or gaps at the seams.
- Check that the gate’s rollers are intact and rolling, not skidding.
- Once the track is clear, re-engage the operator and run a full cycle.
One caution: if the track is bent or the rollers are worn, clearing debris will help for a while, but the underlying problem will come back. A gate that repeatedly derails or binds is a mechanical fix, not a cleaning fix.
5 Repairs That Require a Trained Technician
These are the jobs where the downside of a mistake is measured in injuries, not wasted afternoons. We don’t say this to protect our own business, most of these jobs are genuinely dangerous, and several have legal implications if done incorrectly.
1. Gate Operator (Motor) Replacement
The gate motor, the box that slides or swings your gate automatically, is the single most dangerous component to replace without training. A gate operator replacement involves line voltage electrical work, proper mounting and alignment, and UL 325 entrapment sensor calibration. Get any of those three wrong, and you have a gate that can crush a person or a vehicle. This isn’t like replacing a garbage disposal. It’s installing a safety device, not just an appliance.
2. Entrapment Sensor Calibration
Photo eyes and safety edges are the two main entrapment protection devices on residential gates. Calibrating them isn’t a matter of lining up a beam and calling it done. It requires testing with a calibrated force gauge to verify that the gate reverses within the required pressure limit. We carry this equipment on every service call in Ventura. A homeowner who adjusts the clutch or the motor force settings “until it sounds right” is guessing at a safety parameter.
3. Weld Repair
Many gate frames in Ventura are steel or aluminum, and the hinge plates and operator mounting brackets are welded to the frame. When a weld fails, the gate leaf may sag, bind, or in the worst case, separate from its mounting. Welding is a trade that requires real equipment, real training, and real liability insurance. More importantly, welding on a gate that’s still mounted can start a fire or damage the operator electronics. The gate usually needs to be disassembled, welded, and re-hung, which is beyond the scope of any reasonable DIY project.
4. Electrical Work at the Operator Cabinet or Supply Line
In Ventura, most residential gate operators run on 120V line voltage from the house panel to the operator cabinet, with low-voltage control wiring branching out to photo eyes, keypads, and safety edges. Opening the operator cabinet and probing around is how homeowners get shocked or short out a control board. The line voltage side of the cabinet must be treated like any other electrical box in your home. If you wouldn’t rewire an outlet in your kitchen, don’t rewire a gate operator.
5. High-Tension Spring and Hinge Assembly Repair
Cantilever sliding gates and some swing gates use heavy counterbalance springs to offset the gate’s weight. These springs are under enormous tension, and releasing that tension incorrectly can throw the spring or the gate itself with enough force to break bones. Even hinge replacement on a heavy steel gate requires supporting the gate’s full weight while the new hinge is aligned and bolted, which typically requires a floor jack, blocking, and a second set of hands. If the gate is over 200 pounds, the margin for a solo DIY error is basically zero.
For all five of these repairs, the call is the same: Gate Repair in Ventura is a service call, not a Saturday project. The cost of doing these wrong exceeds the cost of doing them right.
Cost-Benefit Math: When DIY Gate Repair Actually Saves Money in Ventura
Some DIY gate work is a genuine money saver. Some of it is an accounting illusion. For a deeper look at what repairs actually cost, see our Gate Repair Cost Breakdown: The Ventura Homeowner’s Reference for 2026. Here’s the real math on the five most common repairs Ventura homeowners attempt, based on the market we see every day in this city.
| Repair | Typical DIY Parts Cost | Typical Pro Cost in Ventura | Time Commitment | Verdict |
|---|---|---|---|---|
| Hinge lubrication | $15-$25 | $75-$125 | 30-45 min | DIY all the way |
| Photo eye cleaning | $0-$10 | $85-$150 | 15-30 min | DIY, but if it recurs, call a pro |
| Remote reprogramming | $0-$40 (remote cost if replacing) | $75-$150 | 15-45 min | DIY for most brands |
| Wood patching (cosmetic) | $25-$60 | $150-$300 | 2-4 hours | DIY if superficial |
| Gate motor replacement | $400-$900 (parts only) | $900-$1,800 (installed, calibrated, UL 325 tested) | 1-2 days for most homeowners | Call a professional |
The pattern is easy to spot. The safe DIY jobs save you $50 to $150, and the risk is essentially zero. The motor replacement might look like it saves $500 to $900, but that assumes you buy exactly the right motor, install it perfectly, and don’t have to call a pro to fix your install. When we’re called out to rescue a DIY motor install in Ventura, the job usually costs more than if we’d done it from the start, because we have to undo the incorrect work before we can redo it correctly.
There’s also the parts-warranty angle. Most gate motor manufacturers condition their warranty on installation by a qualified technician. Buy a LiftMaster or Mighty Mule operator from a retail source, install it yourself, and the manufacturer may decline a warranty claim when it fails. Buy the same operator installed by an authorized service provider, and the warranty is intact.
How to Diagnose Your Gate Problem Before Deciding
Half the money wasted on gate repair in Ventura is wasted on the wrong fix. A homeowner replaces a perfectly good remote because the gate didn’t open, and the real problem was a dirty photo eye. Or a homeowner spends an afternoon cleaning photo eyes that were fine, when the control board had failed. Here’s the diagnostic sequence we use before we ever pick up a tool.
Step 1: Is the gate getting power? Check the breaker for the gate circuit. Ventura homes near the beach sometimes have GFCI trips from moisture in exterior outlets. If the breaker is fine, check if any lights or indicators on the operator are illuminated. No lights at all usually means a power supply problem, not a gate problem.
Step 2: Does the gate work in manual mode? Pull the manual release handle and try to move the gate by hand. If it moves freely, the mechanical structure is fine and the problem is in the operator or electronics. If it’s hard to move, the problem is mechanical, and no amount of remote battery replacement will fix it.
Step 3: Does the gate respond to the wall button or only fail on the remote? If the wall-mounted control station works but the remote doesn’t, the problem is the remote, the receiver, or the programming. That’s a DIY-safe fix in most cases. If nothing works, including the wall button, the problem is likely the control board or power supply.
Step 4: Are the photo eyes clean and aligned? A blinking or off photo-eye light usually means misalignment, dirt, or wiring damage. Clean and re-align the eyes, then test again. This one step resolves about a third of the no-opens we see in Ventura.
Step 5: Does the gate try to move but stall or reverse? A gate that hums but doesn’t move may have a bad capacitor, a seized gearbox, or a mechanical bind. A gate that starts to close and then reverses immediately is usually a photo-eye or safety-edge issue. A gate that closes and doesn’t reverse when blocked is an entrapment hazard and should be taken out of service immediately.
Running through these five steps will save you from most misdiagnoses. For more guides & resources, explore our blog. It will also make you a better-informed customer if you do end up calling a company. When you can say “the wall button works but the remote doesn’t,” the technician can arrive with the right parts the first time.
What to Tell a Gate Repair Company If You’ve Already Tried Fixing It Yourself
This is a conversation we have every week in Ventura, and the homeowners who are honest about a previous DIY attempt always end up better off. Here’s why disclosure matters and what to tell us.
Why it protects your warranty: Most gate operator manufacturers void the warranty on components that fail due to improper installation or adjustment. If a technician spends two hours diagnosing a problem without knowing you’ve already adjusted the motor force settings, they may misattribute the failure. If we know what you changed, we can test those components specifically.
Why it prevents misdiagnosis: A gate that was working intermittently before you changed a capacitor, and now doesn’t work at all, points to the capacitor installation. A gate that was making a grinding noise before you tightened a belt, and now makes a different grinding noise, points to the belt tension. Knowing the sequence of events shortcuts the diagnostic process significantly.
What we need to know:
- What symptom made you start the repair in the first place?
- What parts or adjustments did you touch, in what order?
- Did the symptom change after each step, or is the gate behaving the same way it did before you started?
- Did anything unusual happen during the repair, like a spark, a snap, a burnt smell, or a part that didn’t fit quite right?
There’s no shame in a DIY attempt, and no reputable company will judge you for it. What wastes money is omission. A technician who chases a phantom wiring problem for an hour because they didn’t know you swamped the operator cabinet with WD-40 is an expensive technician.
We’ve also seen cases where a homeowner’s DIY attempt made the gate unsafe in a way that wasn’t obvious. If you adjusted the motor force to “just get it to move” after a mechanical bind, you may have set the entrapment pressure too high. Disclosing that to us means we can reset it and run the UL 325 test before we even look at the mechanical problem.
Common Mistakes to Avoid
- Lubricating the gate track with WD-40. WD-40 is a solvent, not a lubricant, and on a sliding gate track it attracts dirt and creates a paste that makes the problem worse. Use a dry lubricant or a white lithium grease instead.
- Replacing the remote batteries before checking the photo eyes. We see this constantly in Ventura. The remote was never the problem. Clean the photo eyes, align them, and test again before spending money on batteries or replacing a remote.
- Treating the gate as a mechanical problem when it’s an electrical problem, or vice versa. The manual release test tells you which one it is in 30 seconds, but most people skip it. Pull the release, push the gate by hand, and the answer is right there.
- Buying parts before knowing the actual problem. A capacitor from Amazon is cheap, but if the problem was a seized gearbox, that capacitor is wasted money and the gate still doesn’t work. Diagnose first, spend second.
- Ignoring a gate that’s “working fine” after a DIY repair without checking the safety systems. A gate that opens and closes on command can still be a hazard if the entrapment protection isn’t working. Test the gate by placing a cardboard box in its path and seeing if it reverses. If it doesn’t, don’t use it until it’s serviced.
- Attempting weld repair or spring work with homeowner-grade tools. Gate springs under tension and cast iron gate hardware don’t respect amateur hour. The money you save on the weld is smaller than the ER copay.
When to Call a Professional
Call a professional when the repair touches the gate operator, the wiring, the entrapment sensors, the springs, or any weld. Call a professional when the gate isn’t stopping or reversing when it should. Call a professional when you’ve run through the diagnostic steps and the problem is still unclear, or when a DIY fix didn’t resolve the symptom. Call a professional when the gate is over 200 pounds and the repair involves hinges or mounting hardware. And call a professional when you’re not sure, because the cost of asking is zero and the cost of guessing wrong can be severe. Electric Gate Repair in Ventura is a specialized skill set, and Gate Motor Repair in Ventura is specifically the work that we do every day. Warden Gate Repair Ventura offers free estimates in Ventura – call (831) 226-7089 and we’ll help you figure out what you’re actually dealing with, even if the answer is “you can do this one yourself.”
Frequently Asked Questions
Professional gate repair in Ventura typically costs $75 to $150 for minor diagnostics and adjustments like photo-eye alignment or hinge lubrication, and $900 to $1,800 for a full gate motor replacement with installation and UL 325 entrapment calibration. The exact price depends on your gate’s size, whether the operator is a slide or swing model, and which brand is being replaced. Call (831) 226-7089 for a written quote specific to your gate, before any work starts.
Replacing a gate motor yourself is technically possible but not recommended because it involves line voltage electrical work, precise mounting alignment, and UL 325 entrapment sensor calibration, all of which carry serious safety and liability risks in California. A self-installed motor that hasn’t been properly calibrated can create a gate that doesn’t stop when it should. Most manufacturers also condition their warranty on professional installation.
The most common gate problem we see in Ventura is a gate that won’t open, and the cause is usually a dirty or misaligned photo eye, not a failed motor. The city’s salt air and coastal fog keep photo eyes filmed over with residue, and the fix is often a simple cleaning. Before you spend money on parts, clean the photo eyes and test the gate again.
Manual gate repairs are safe for homeowners when they involve hinge lubrication, cosmetic wood patching, and other non-structural maintenance that doesn’t involve springs, welding, or lifting a gate over 200 pounds. Any repair that involves the gate’s structural integrity, its mounting hardware, or counterbalance springs should be handled by a technician. The threshold is whether the gate falling or springing loose could hurt someone.
UL 325 compliance means your automatic gate operator has passed entrapment protection tests and is calibrated to stop and reverse when it encounters a person or object. In California, automatic gates must be UL 325 compliant, and a non-compliant gate creates liability for the homeowner, potentially excluding injuries from homeowner’s insurance coverage. Professional service calls should include an entrapment test as a standard part of the work.
Gate operator warranties typically cover manufacturer defects but exclude failures caused by improper installation, improper electrical supply, or unauthorized modification. If you’ve done DIY work on the gate and the problem involves a component you touched, the manufacturer may decline the claim. Disclose any DIY repairs to your technician so they can accurately document what they find, and call (831) 226-7089 if you need help figuring out whether a repair falls under warranty.
The Bottom Line
Most homeowners can safely handle lubrication, photo-eye cleaning, remote programming, minor wood patching, and track clearing, and those five tasks cover a meaningful share of routine gate maintenance in Ventura. Everything else, operator replacement, entrapment sensor work, weld repair, electrical work, and spring or hinge service on heavy gates, belongs with a trained technician. The difference isn’t about how handy you are. It’s about what happens when the repair fails. A gate that won’t open is an inconvenience. A gate that won’t stop is a lawsuit. Warden Gate Repair Ventura home is where you’ll find more detail on our service area and approach, and we’re happy to help you sort one from the other before you commit to either path.
Written by Cole Rafferty, Owner at Warden Gate Repair Ventura, serving Ventura since 2008.
See the difference
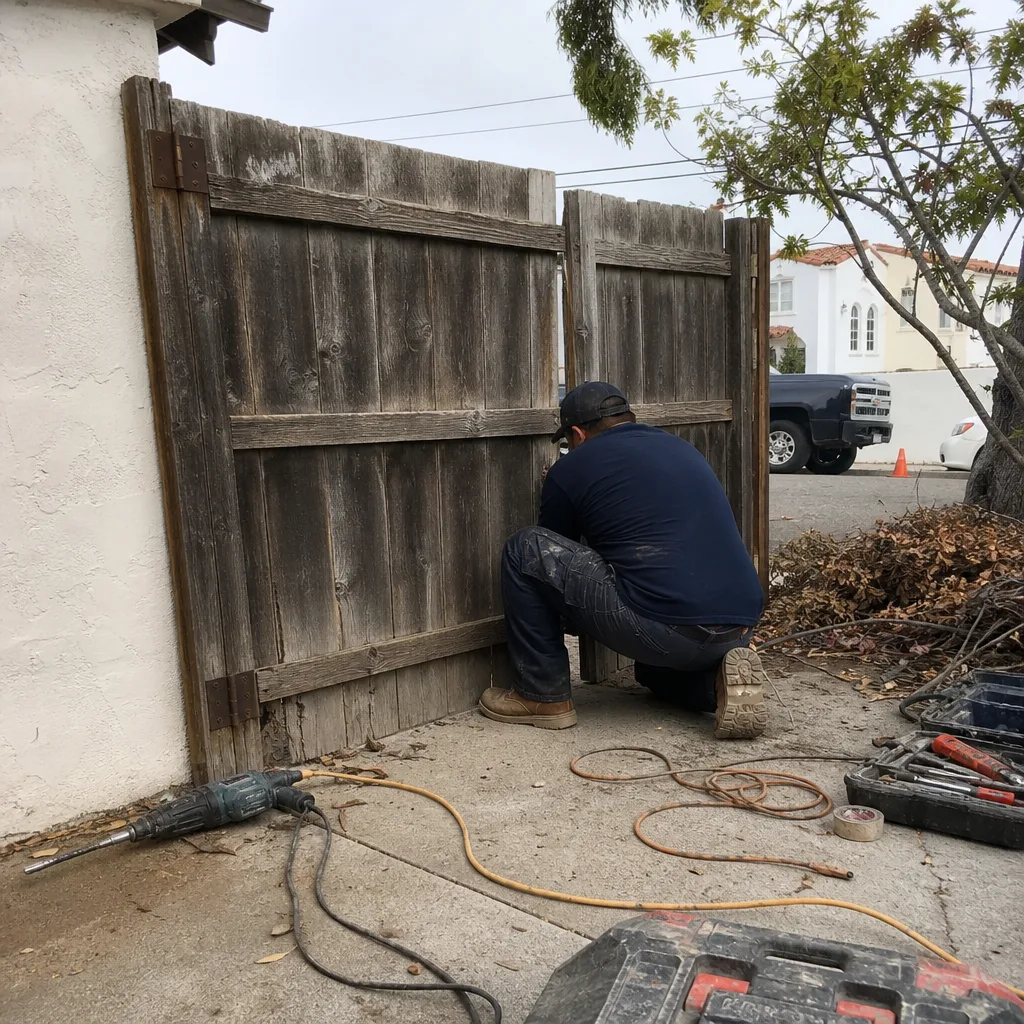 Before
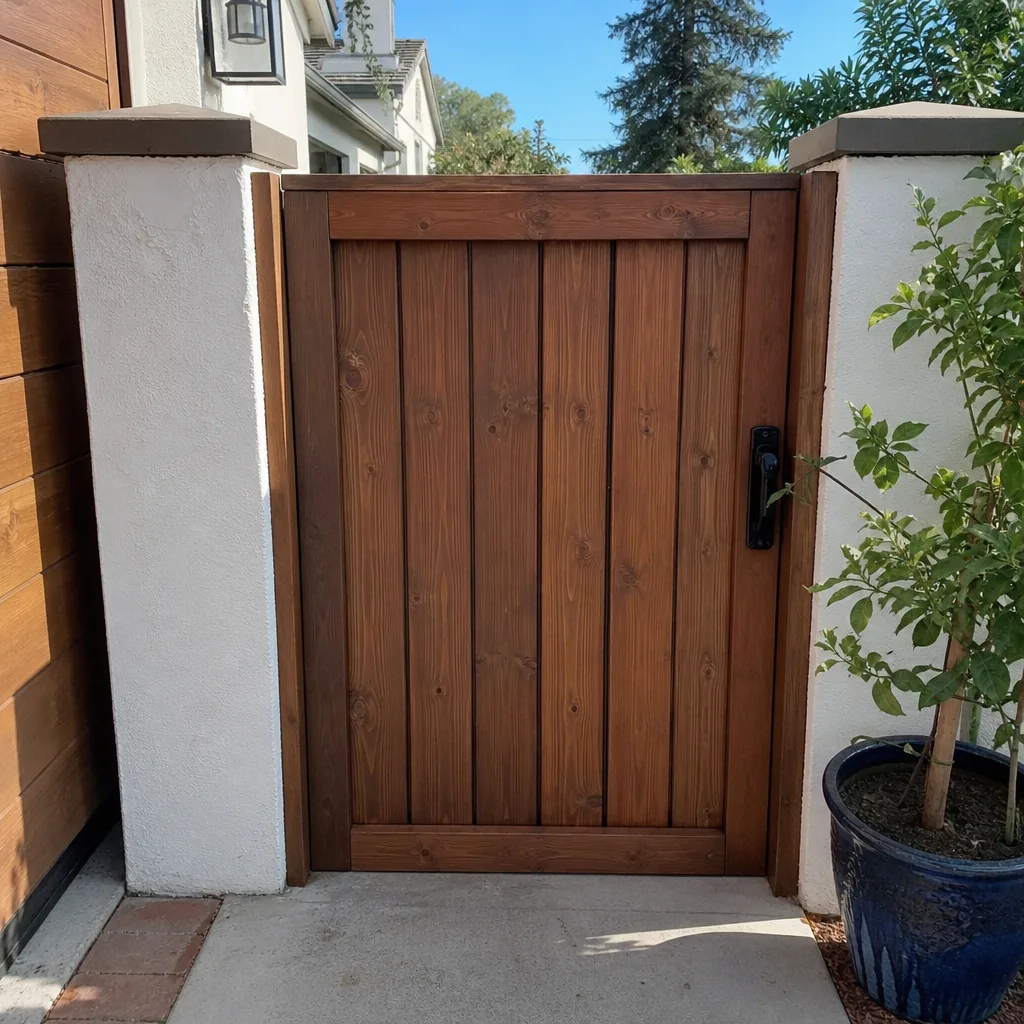 After
After Before
 After
After Before
 After
After